How to paint realistic clouds in Photoshop? In 6 easy steps
What would you do if you had a series of images with lots of clouds but one among them missing the clouds completely? What would you do to make them all look consistent? I know what I would do. Easy. Paint the missing clouds. How exactly? This article discusses & teaches you so in 6 easy-to-follow steps.
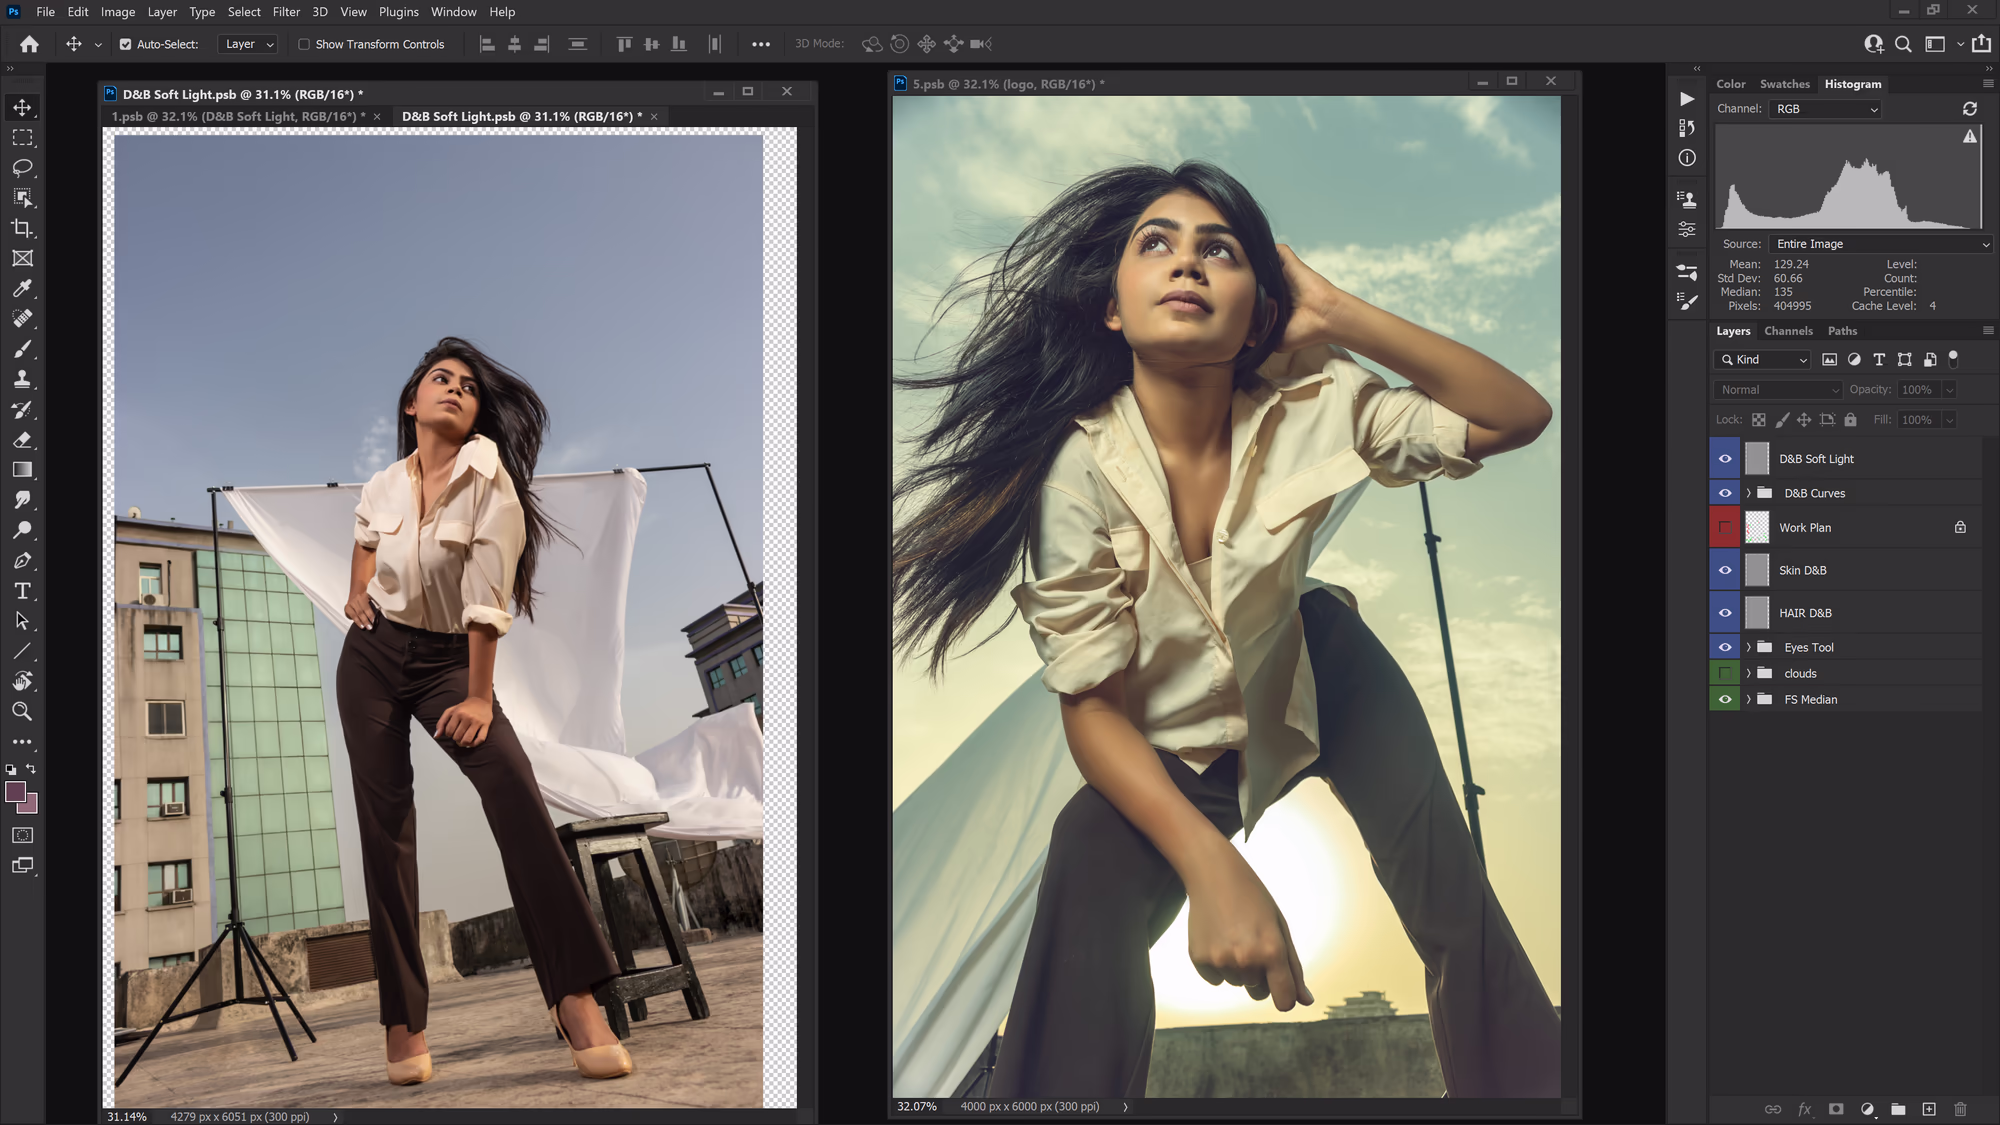
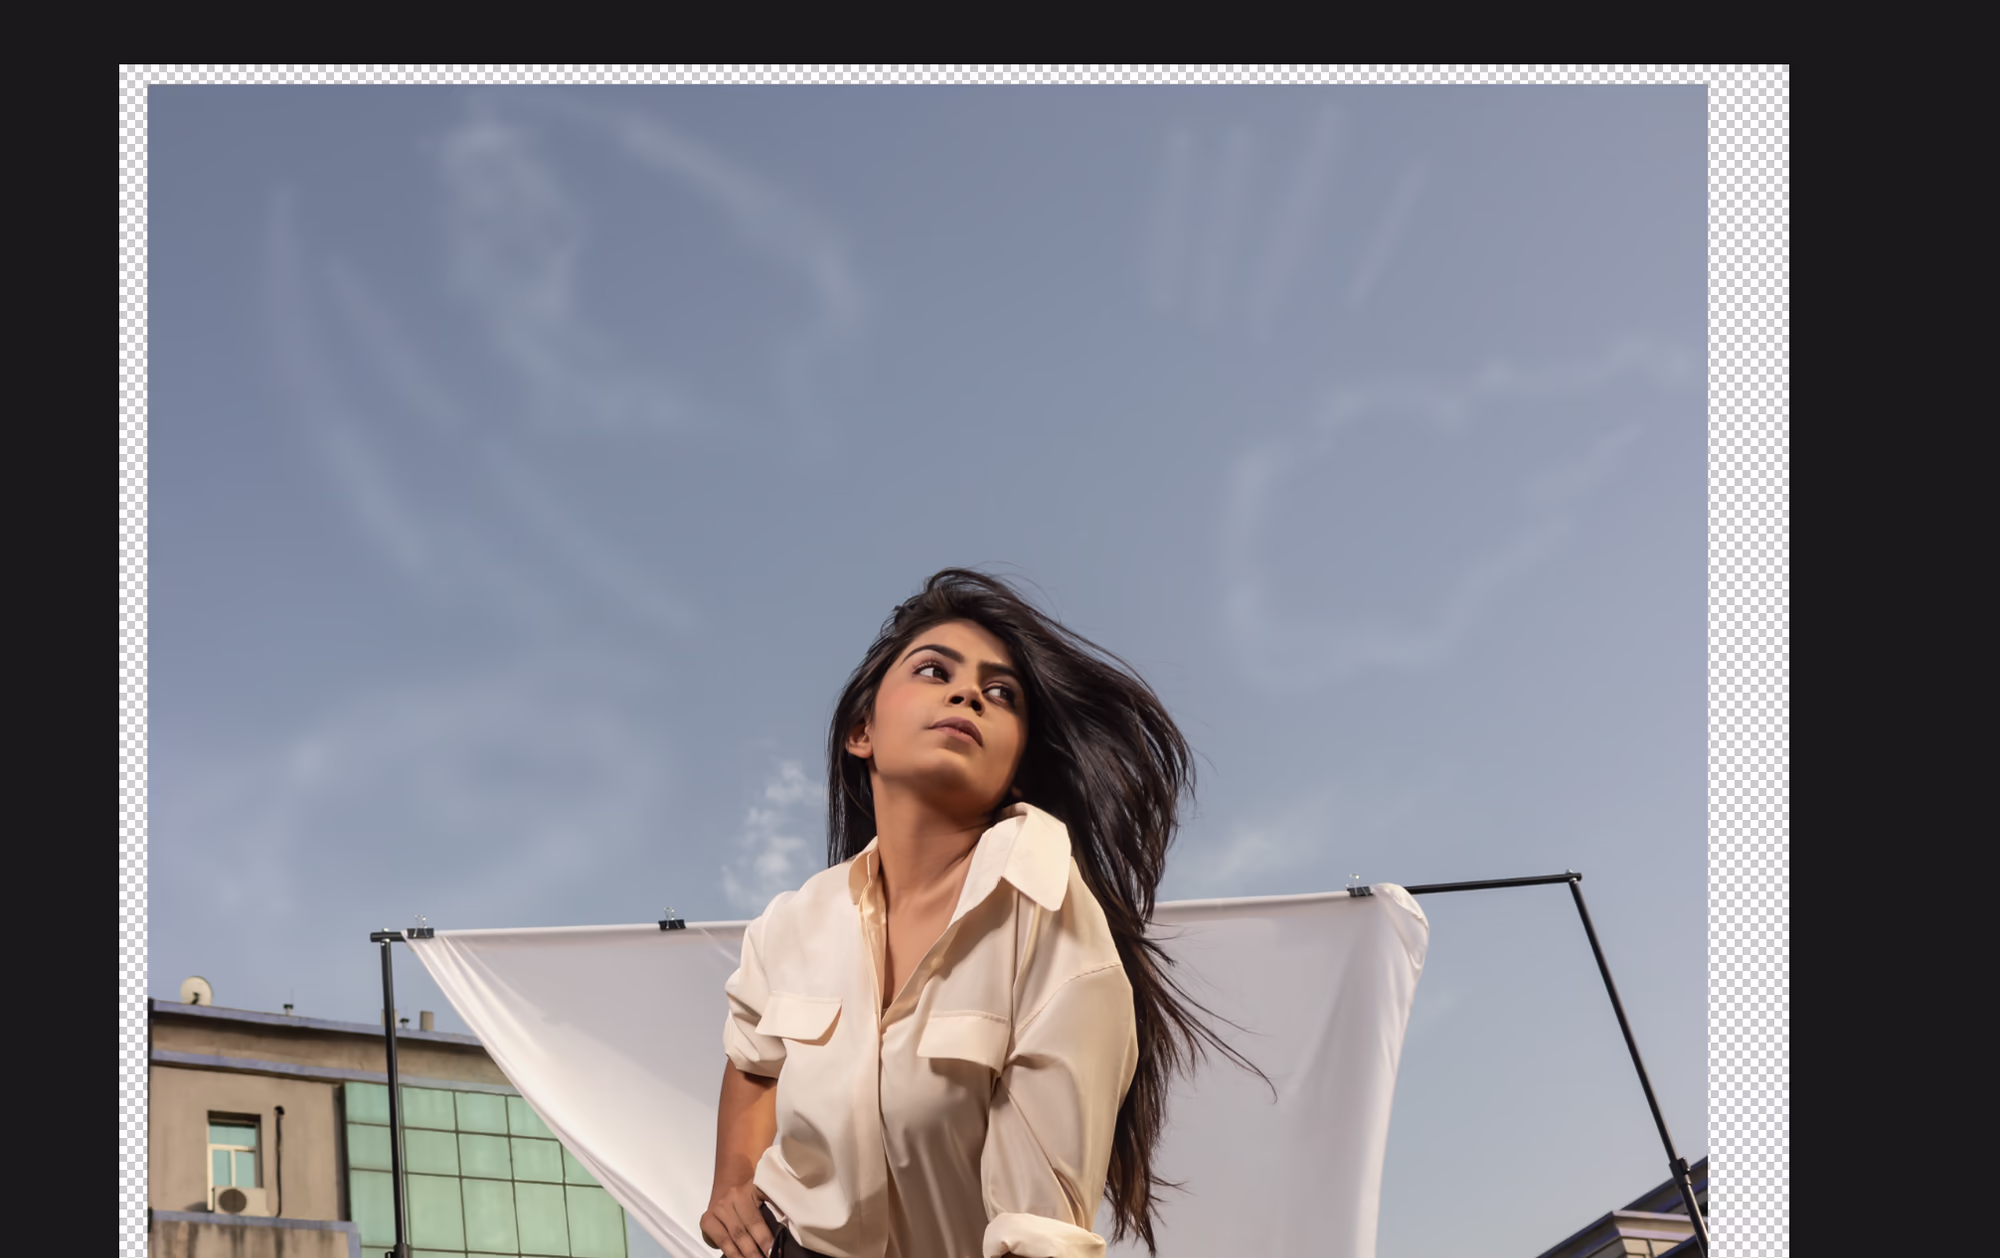
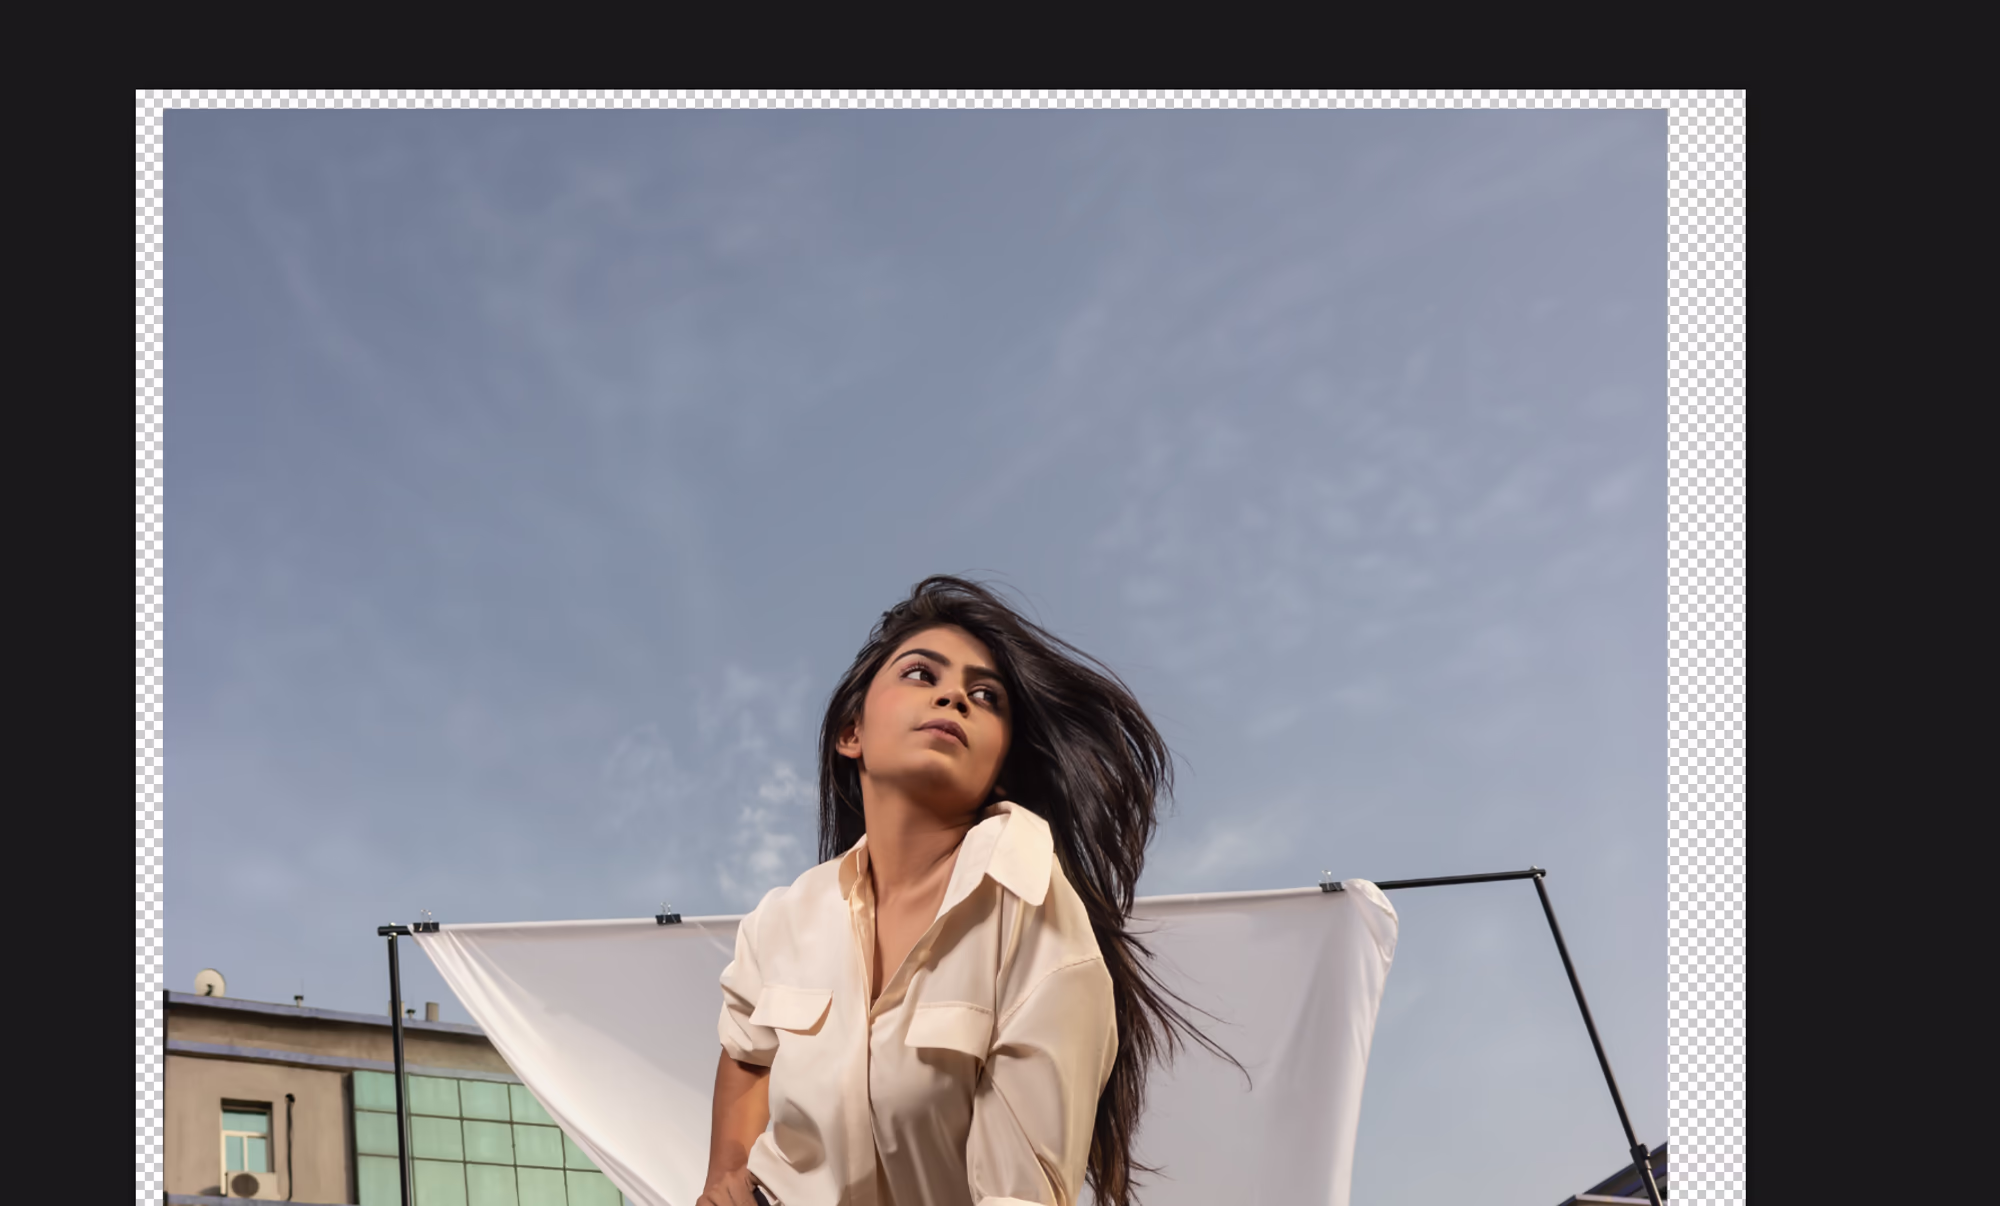
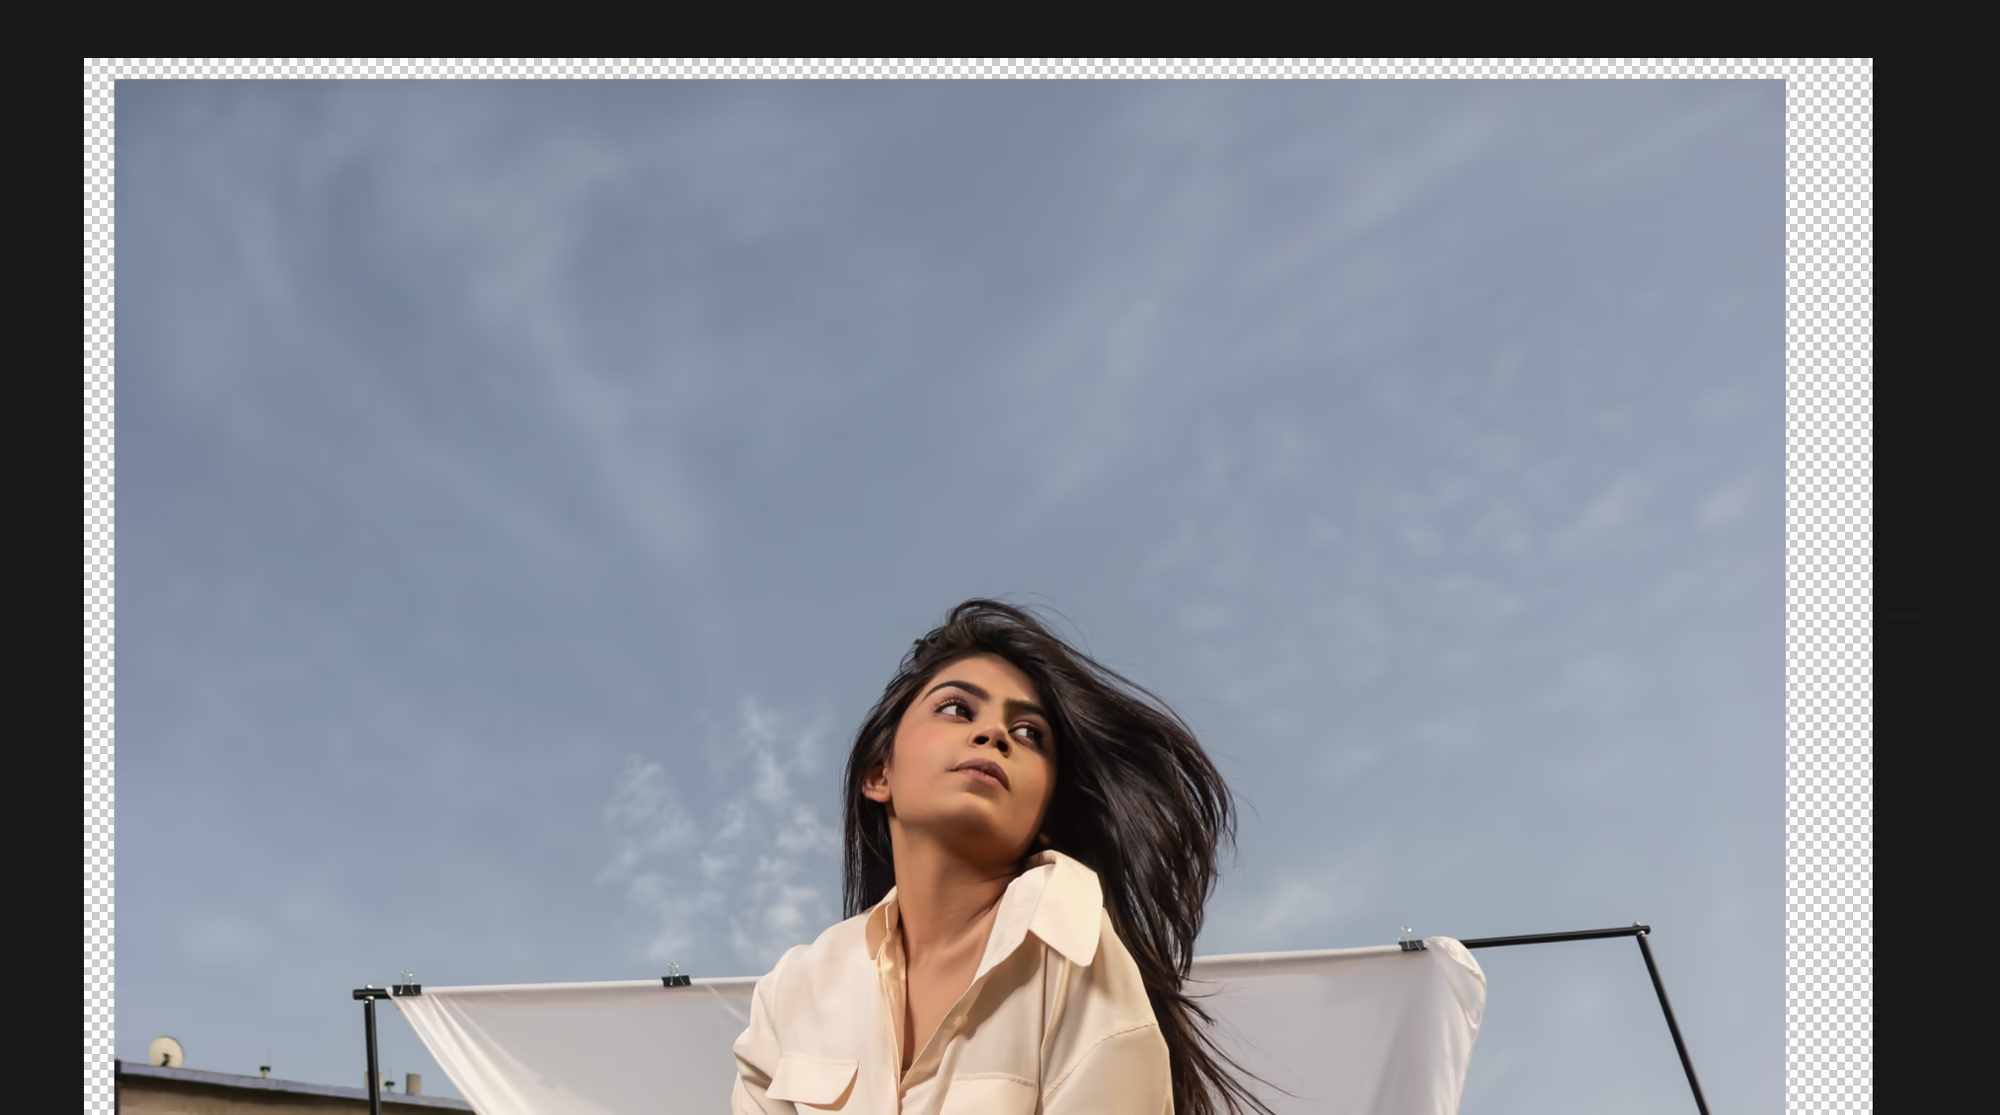
During late July of 2020, we had an impromptu shoot themed as - 9 to 5 stress buster on our studio's rooftop. It was a typical hot day with a bright shining sun in a completely blue sky, occasionally blending in with the scattered clouds. The same images from the mentioned shoot are being used here for demonstration purposes.
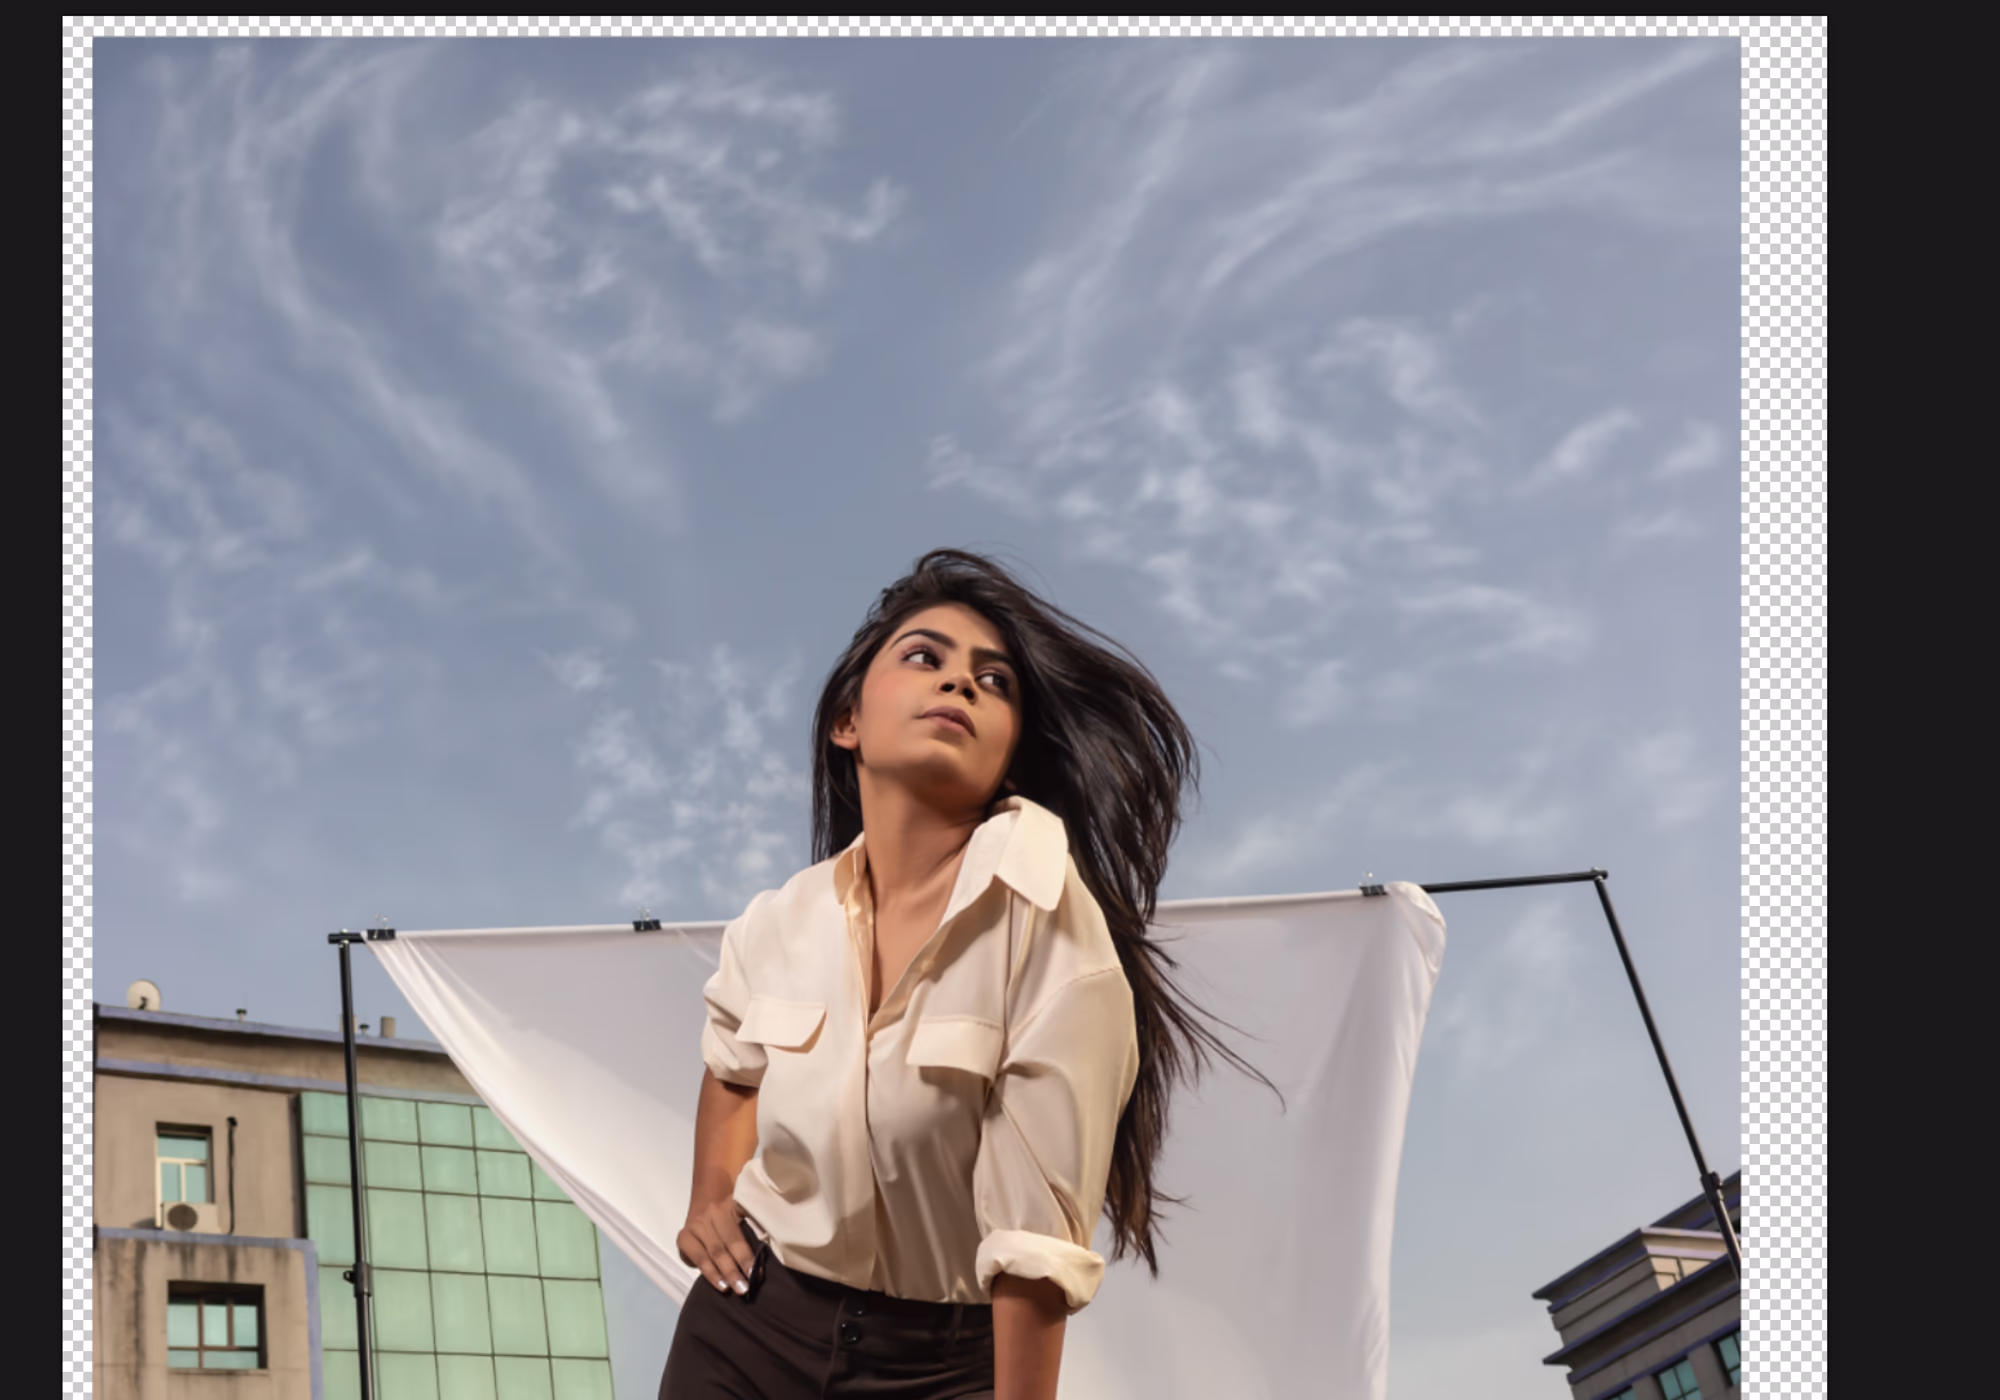
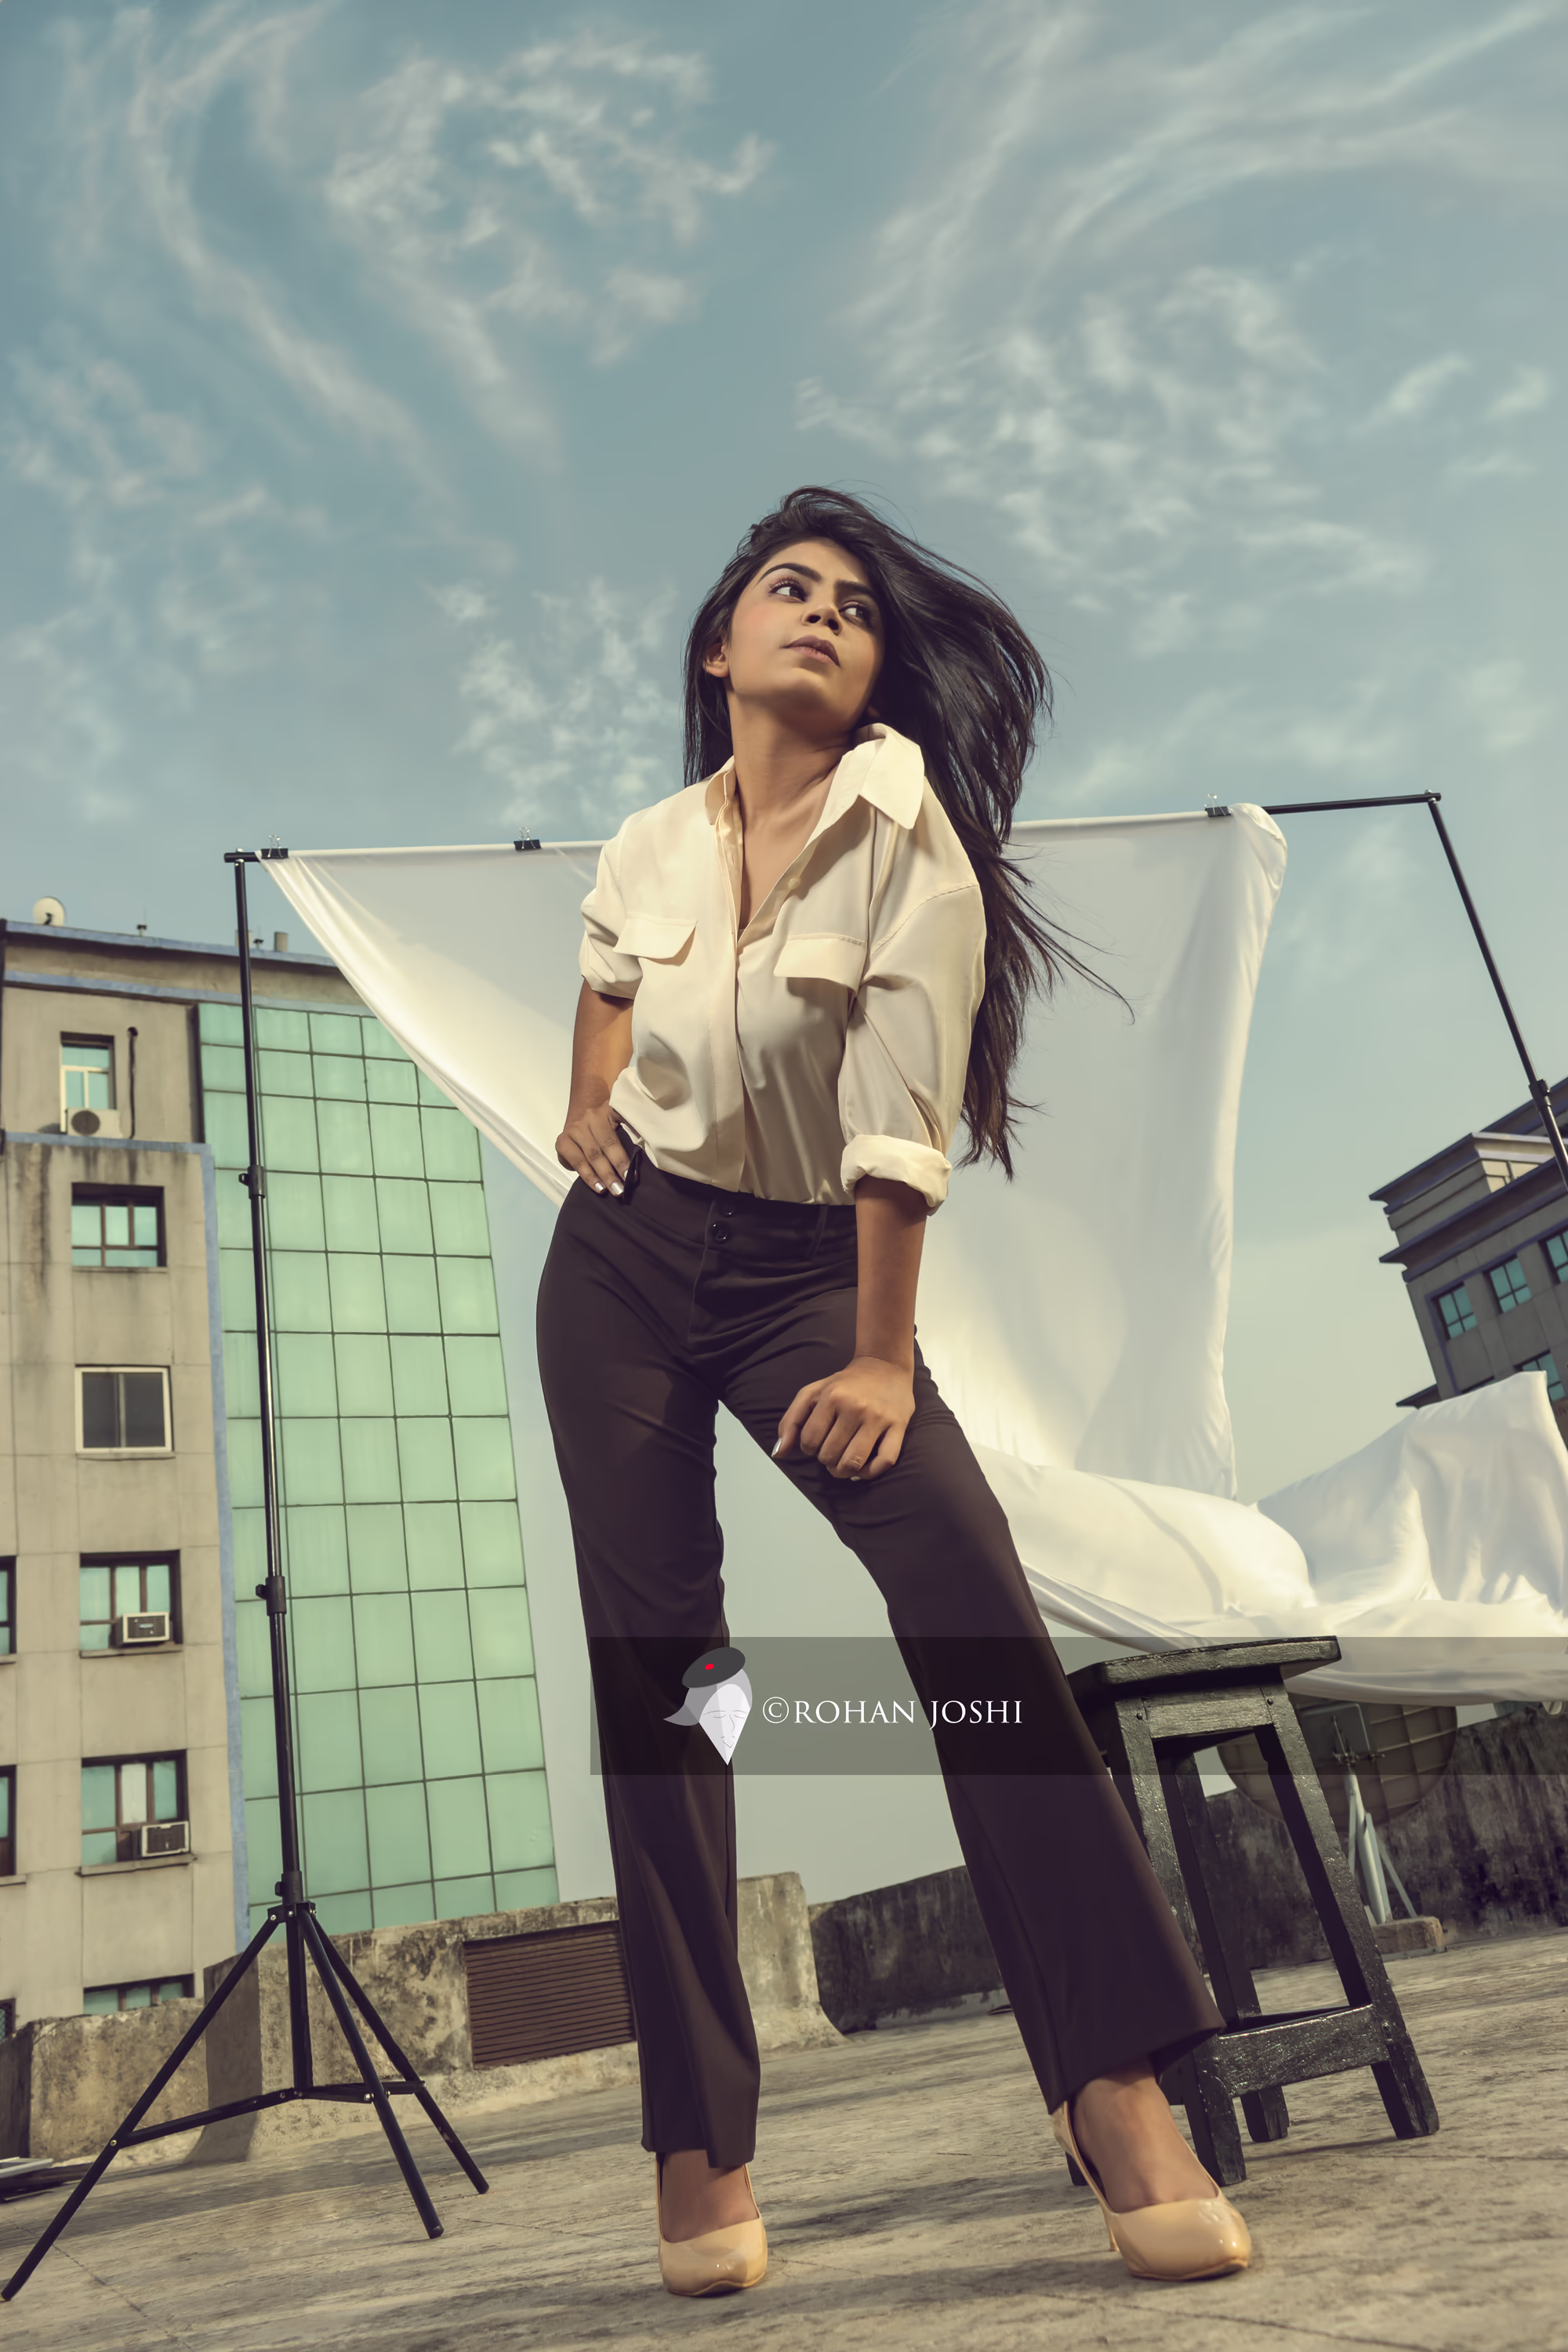
The image without clouds, before after of the previous edit
Same image without the edit with another image of the same series
Before we start to paint the clouds, we should do a basic Color correction of the image and use healing on the distractions. After completing these basic preparations, our selected image is ready to be painted over.
We shift our focus to the brush tool that'll help us paint. I consider it one of the master tools of photoshop. It serves many purposes as it has lots of settings that one can play with, like - opacity, flow, jitter, scattering, symmetry, etc. Combine it with a drawing tablet & it becomes even more flexible, allowing you to control it with the tilt and pressure of the pen.
But that said, you can also achieve results in this tutorial using a mouse.
As we start with the actual process, we must quickly set a few records straight.
First - Why paint rather than use any available PNG?
I do it because - creating something original is more exciting than simply copying. Also, it makes my work unique and more appealing to the audience.
Second - What exactly does our brush need to achieve? Remember, the brush should be easy and fast to use, without doing too much or looking repetitive while being flexible to adjust to the artist.
We need to lay some groundwork to make any process easy and iterable. So, deciding the final look of the image, the style of the clouds, and their position is crucial to have the flexibility to edit the clouds later on. We also need to store it somewhere to reference it when needed. We do it all in photoshop on a layer that we will name - Cloud Action Plan. On the layer, draw a basic outline of clouds and decide their placement but, Before we start work on the action plan, we need to make a brush.
This step helps us immensely to achieve the look we want. It is helpful, especially to those who work in teams or close collaboration with others. I do it almost every time and it helps me achieve great consistency in my work. Read more about retouching action plans here.
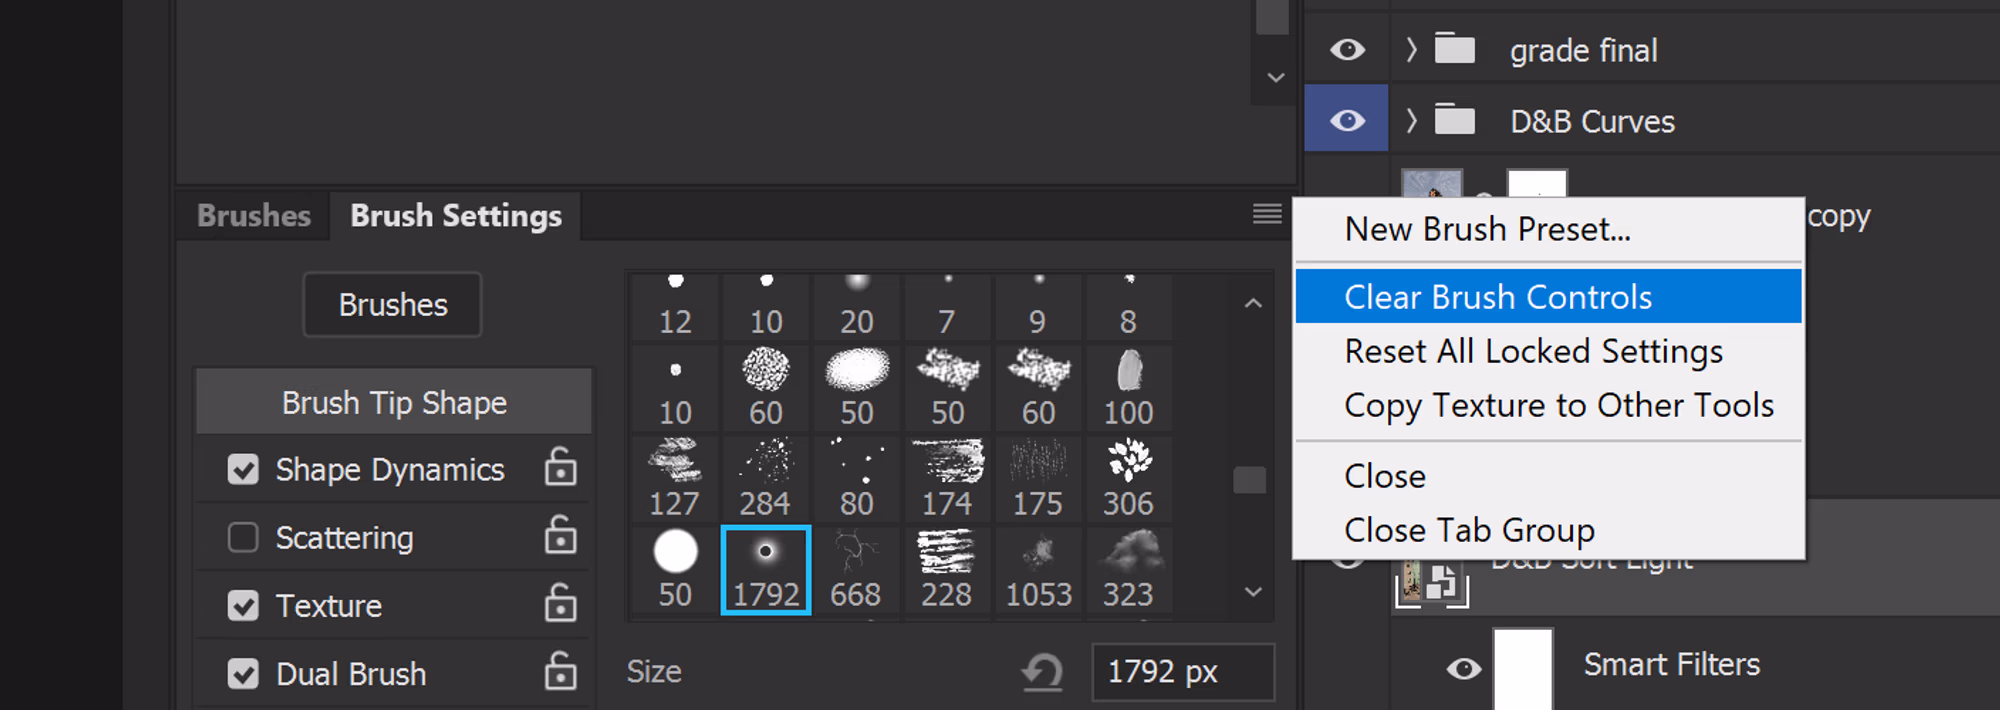
Start with Photoshop's default soft brush. Seems unfamiliar? You can also reset the photoshop brush preset instead and start.
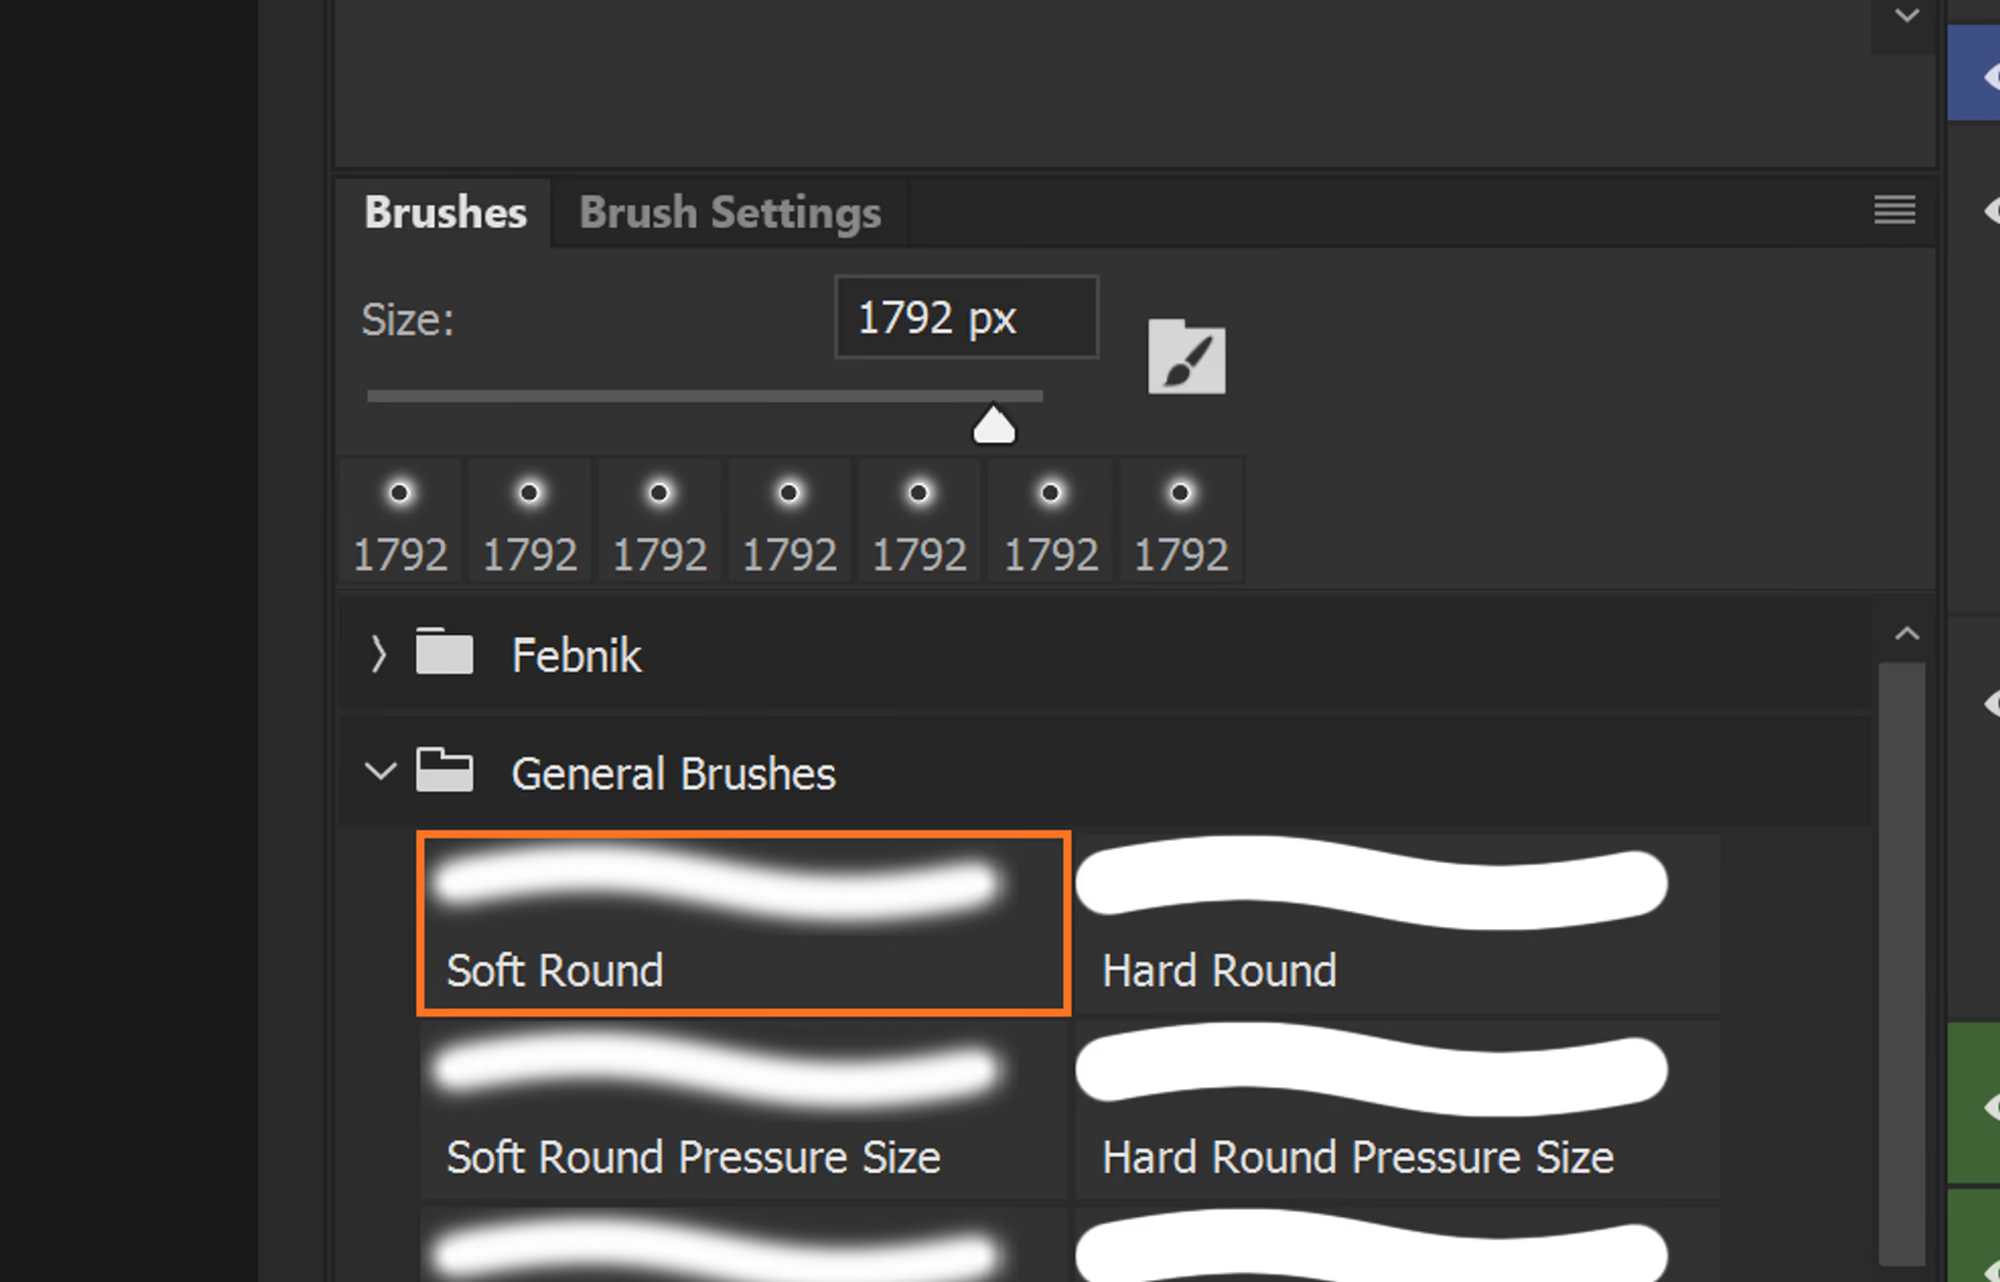
Open brushes panel in photoshop. Go to General Brushes and Select Soft Round Brush.
Decrease the opacity and flow of the brush. Enable pressure control if you have a drawing tablet.
To make the brush look like the outline of clouds, in Brush Settings > Brush Tip Shape, add spacing around 20-35% to make the brush light and zero hardness.
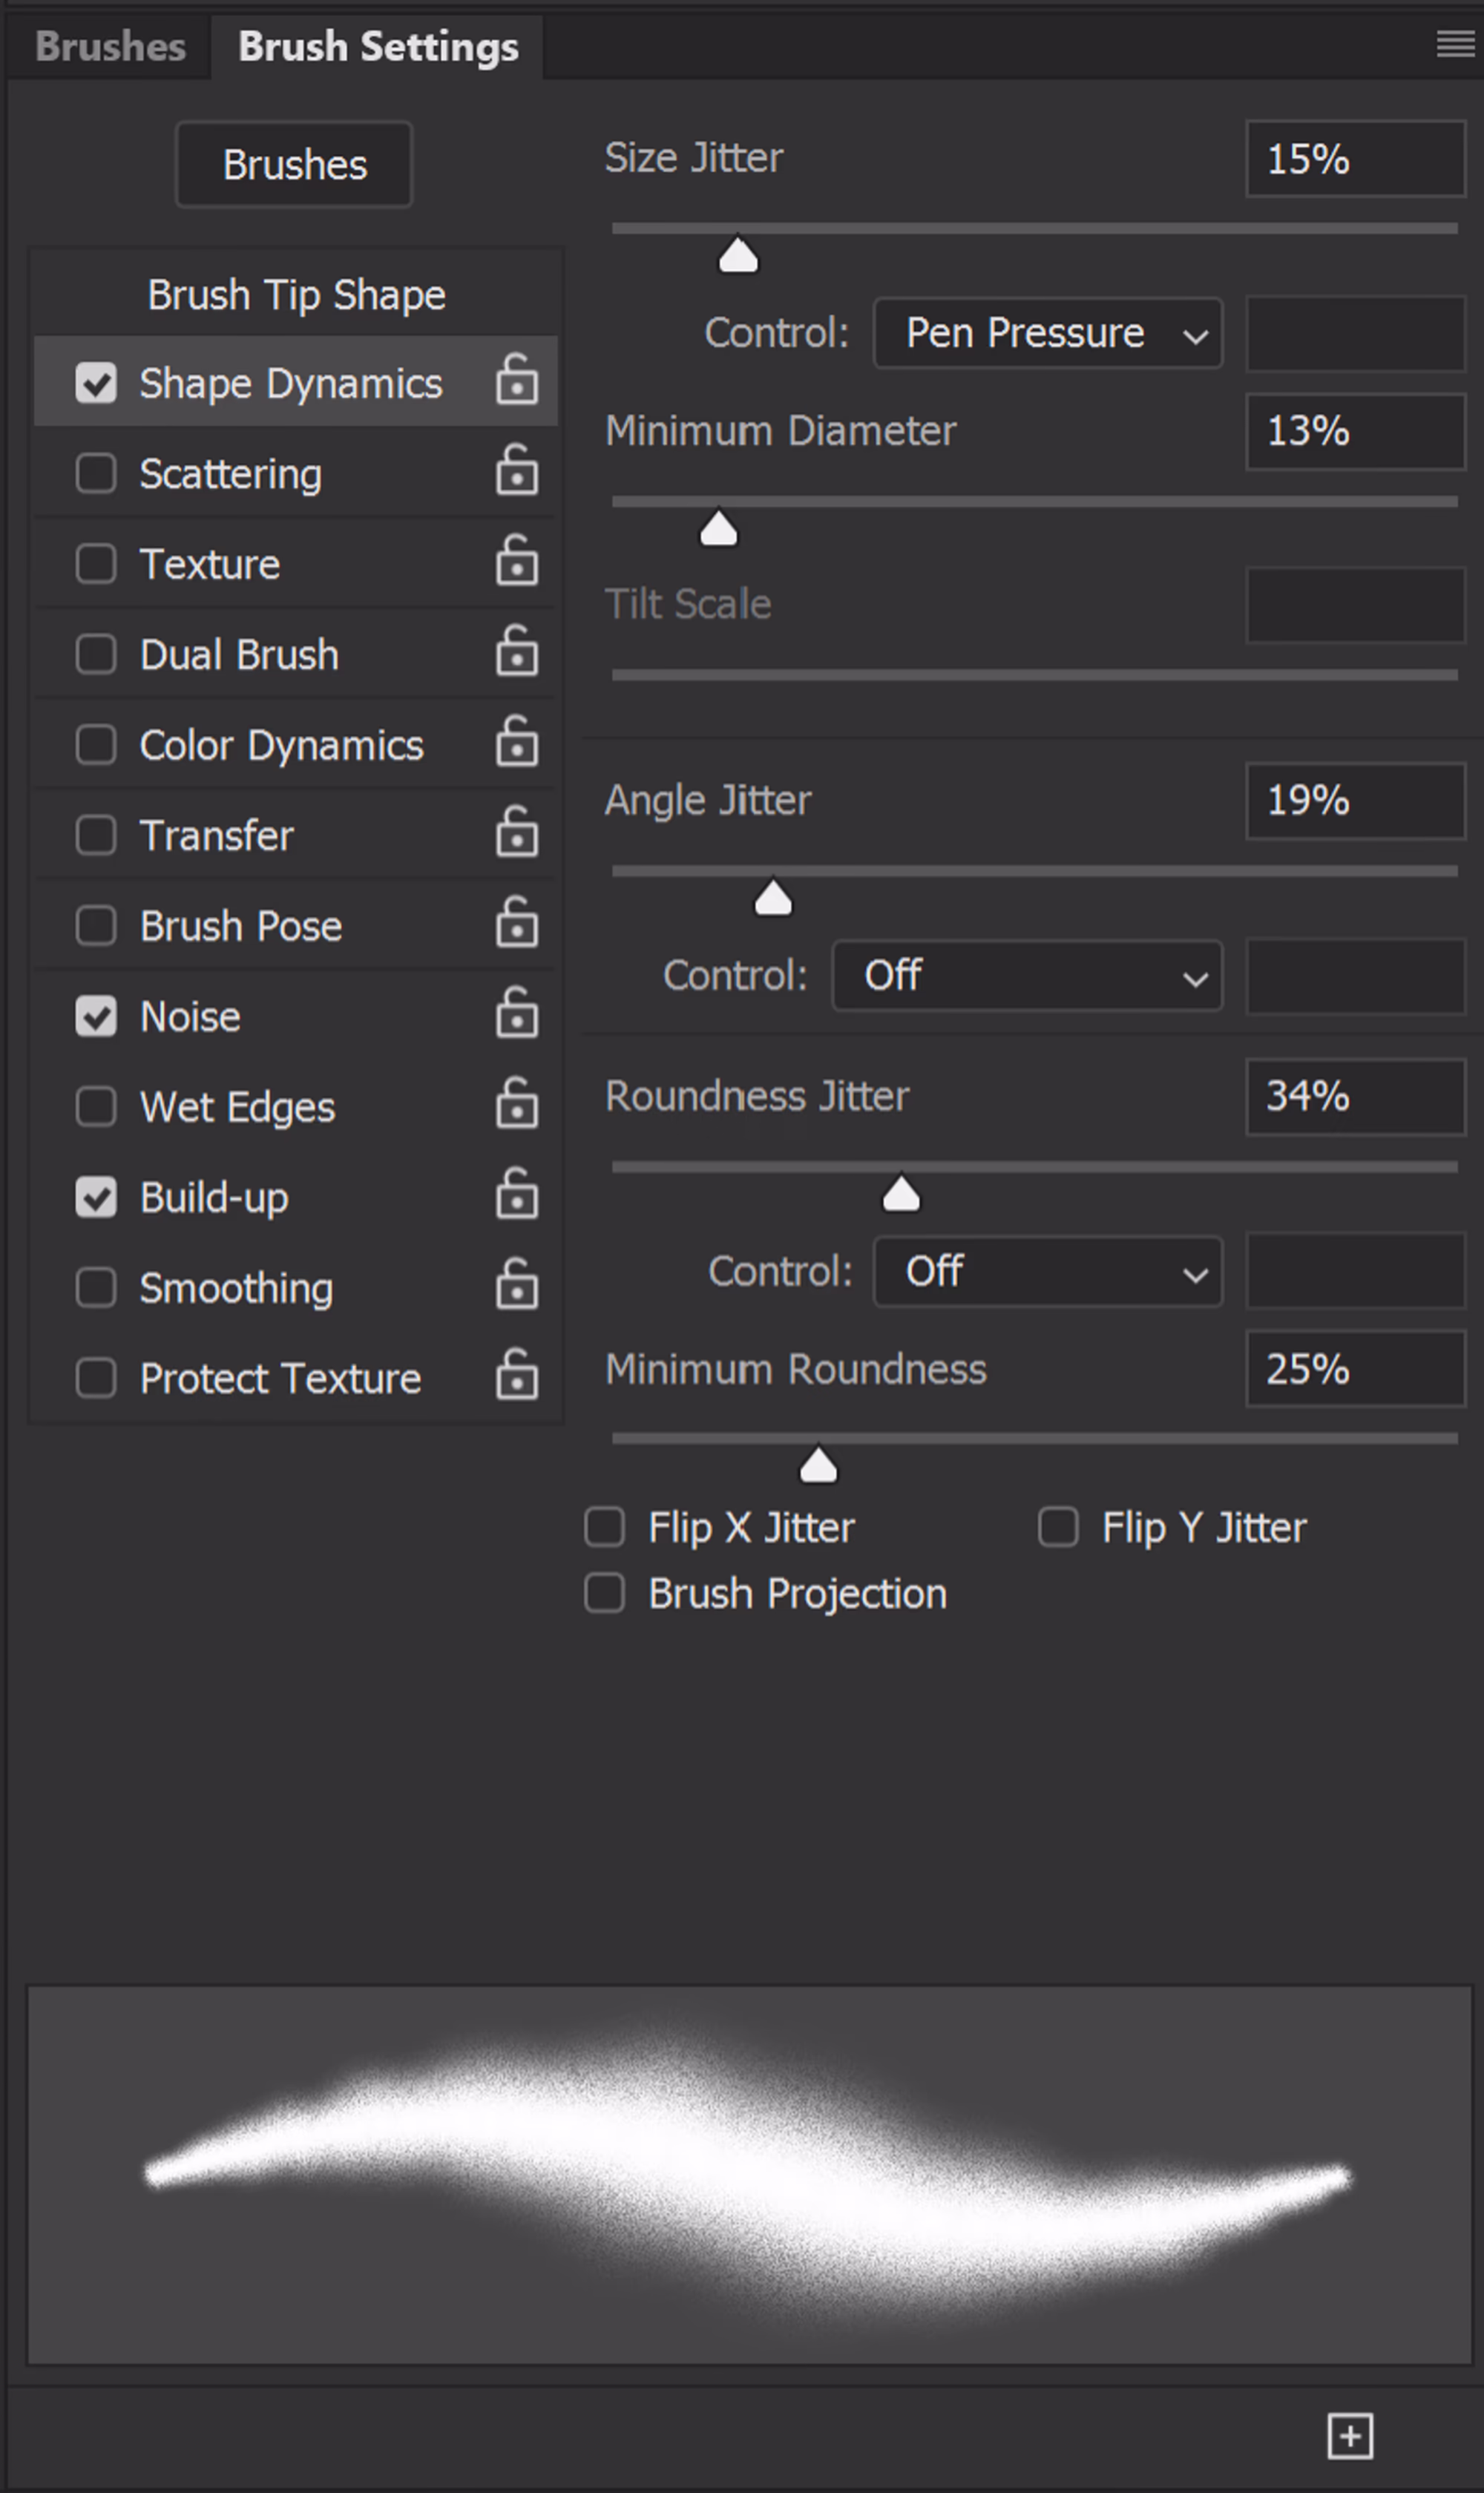
In Brush Settings > Shape dynamics, add some jitter to the brush. Keep the overall jitter below 30%.
Enable noise and build-up. I like a grainy look on the cloud. Doing this will further enhance the output of the brush and add required randomness to it, thus making it easy for us to draw. Through build-up, you can hold your pen and, photoshop will intensify the output of the brush.
Now, we have the brush and you'll need only this brush to draw in this tutorial.
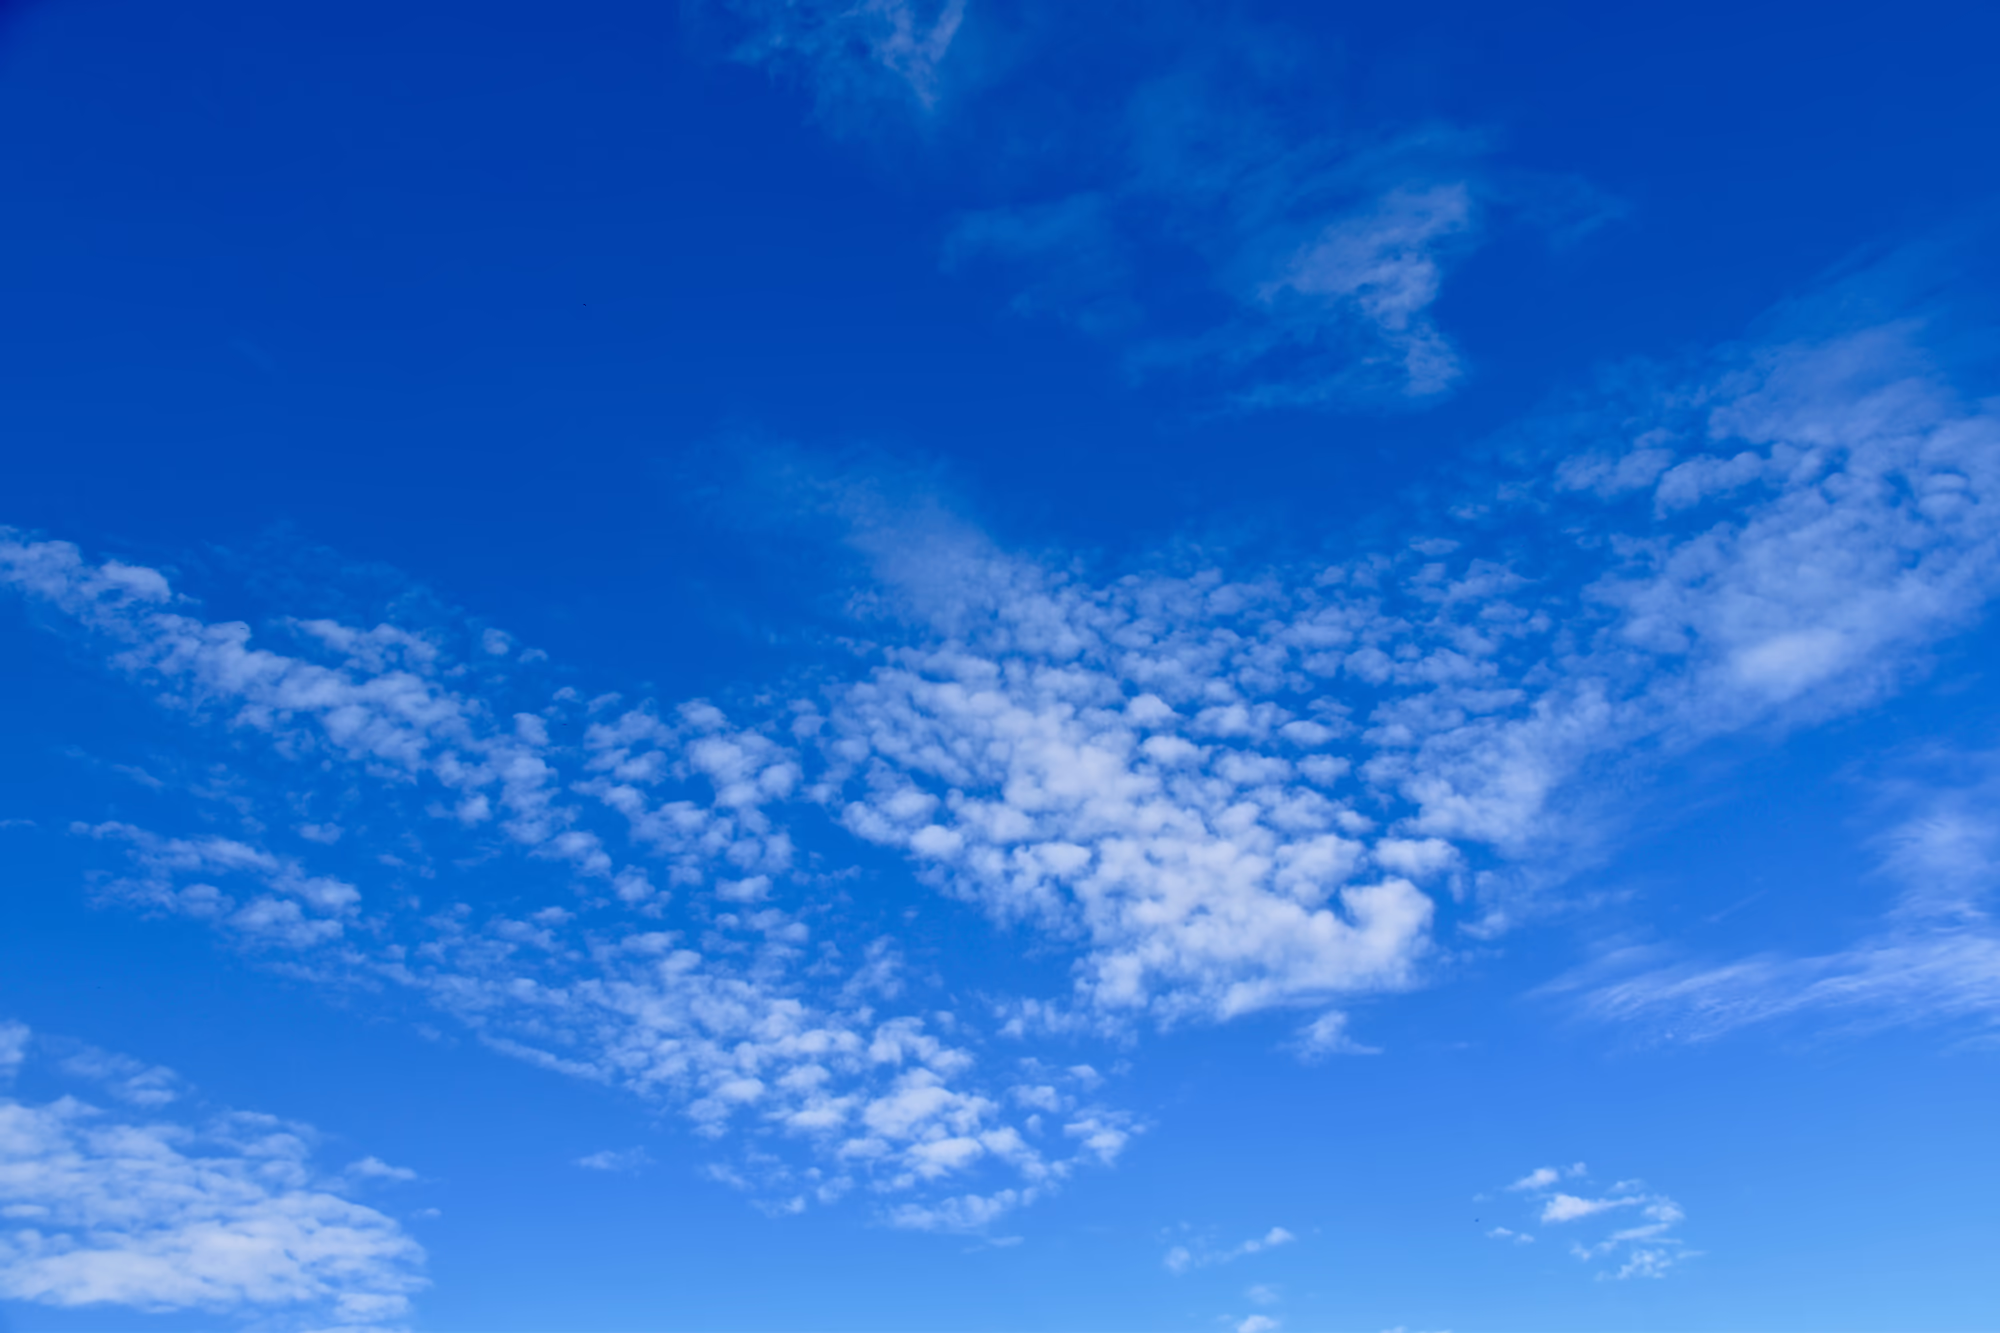
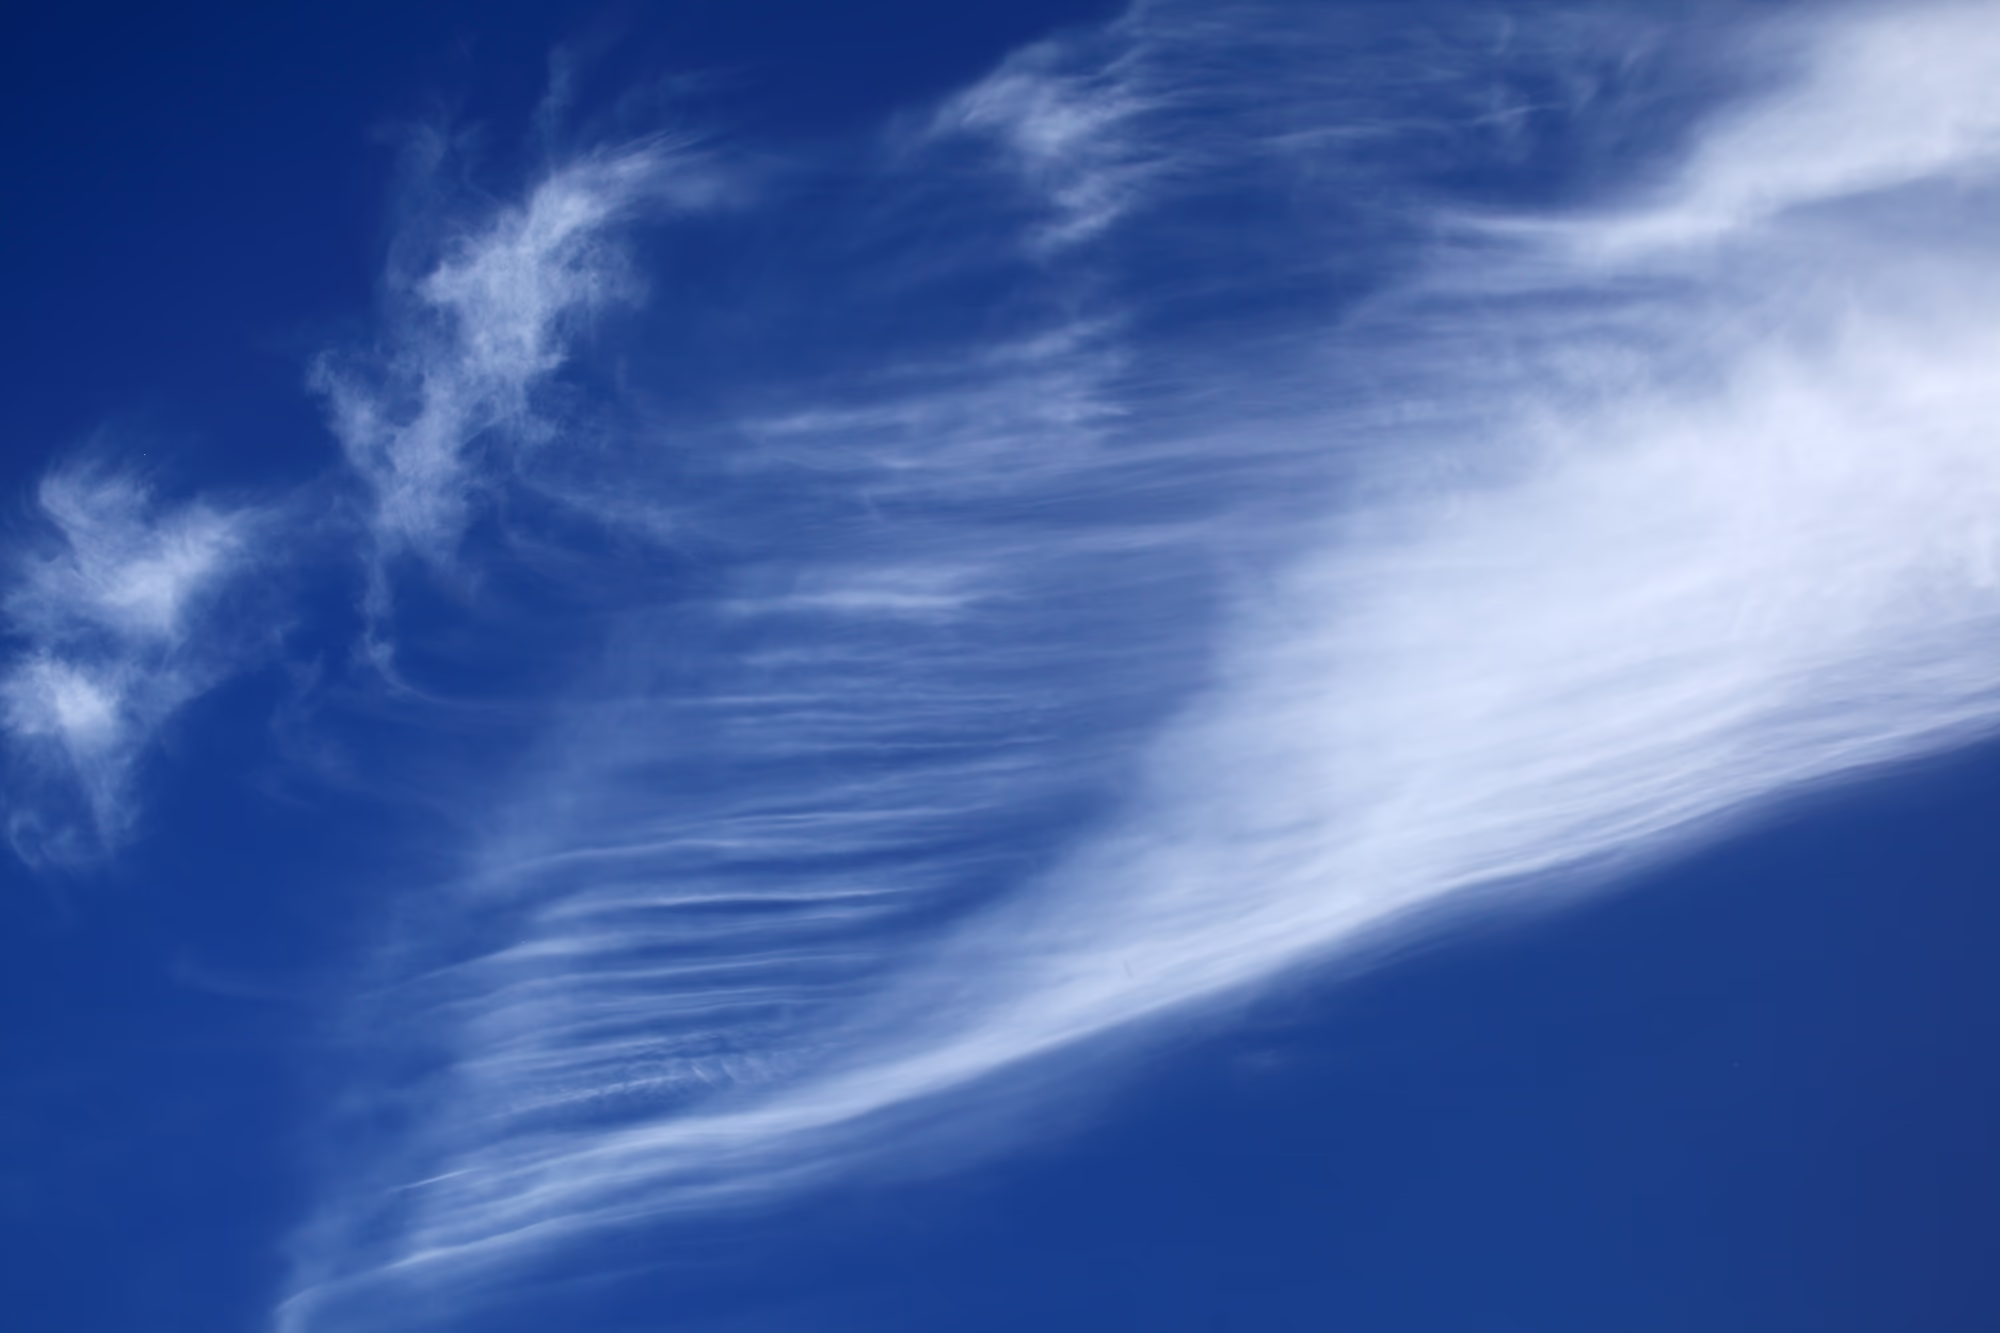
Paint the shape and direction of clouds as you would like them in the image on the Cloud Action Plan layer we created earlier in Step 1. Selected images have cirrus and cirrocumulus clouds at an angle uncommon to people. I draw lines for cirrus and big bodies for the cirrocumulus to identify them.
Cirrocumulus clouds are like scattered white dots
Cirrus are big strokes of a flat brush
The clouds need to be relatively small. I want them to cover almost all of the sky. Paint the outline of clouds using the brush tool we created earlier in Step 2 without zooming in on the image because clouds don't need great details to look realistic. Color variation is enough when clouds are just part of the background.
We know where our clouds will be. We can now draw the base layer of clouds. It is a place where clouds are very light and barely visible. For every cloud, make a separate layer, so you can change them later if needed.
I am increasing the spacing and reducing the flow of the brush to make it lighter. You can choose the values as per your artistic needs.
Keep the first layer colors light. It must match the color of the background. I sampled the color from the little clouds we had in this image.
Now turn off the Cloud action plan layer. Use it if you forget which cloud was where. Paint the second layer brighter to give the clouds some volume. Increase the flow while using bright white. Increase opacity. Now your clouds should look fluffier. Keep painting while playing with the brush settings - flow and opacity to adjust while making different cloud types.
Increase the number of layers depending upon the look of clouds you want to achieve.
Lastly, add some noise to the brush and draw another layer to add more volume to the clouds. Use the dodge tool to brighten and the burn tool to darken the clouds.
Dodging and burning can give more volume to the image.
Now it is time to turn on the Color Grade to look at the final image. We see the clouds are different from the one I made the first time. I edited this picture. And with this, we're done.
Photoshop is a tool that has as much potential as its user. Acing it requires time and consistent practice. Following this article, you can now paint clouds without any special tools and put this idea into use in any form as per your choice & creativity. Keep playing with the brushes to explore and see improved results with time.